
Why Is My Dishwasher Not Drying Dishes?
Wet dishes often trace to the selected dry option, rinse-aid setup, pooled water from loading, or the way plastics retain less heat; a no-heat condition can require model-specific service.
What to know
- Confirm the cycle actually includes the drying behavior you expect.
- Load cups and bowls so water can drain, and follow the manual’s rinse-aid directions.
- Persistent no-heat behavior, errors, or electrical symptoms belong in model-specific troubleshooting or qualified service.
A dishwasher can finish with wet dishes even when it washed correctly. Start with the selected cycle, rinse-aid instructions, and loading pattern before assuming a heater failed. Plastics and concave items are especially likely to hold droplets, while some energy-saving or air-dry options intentionally use less or no heated drying. [1]
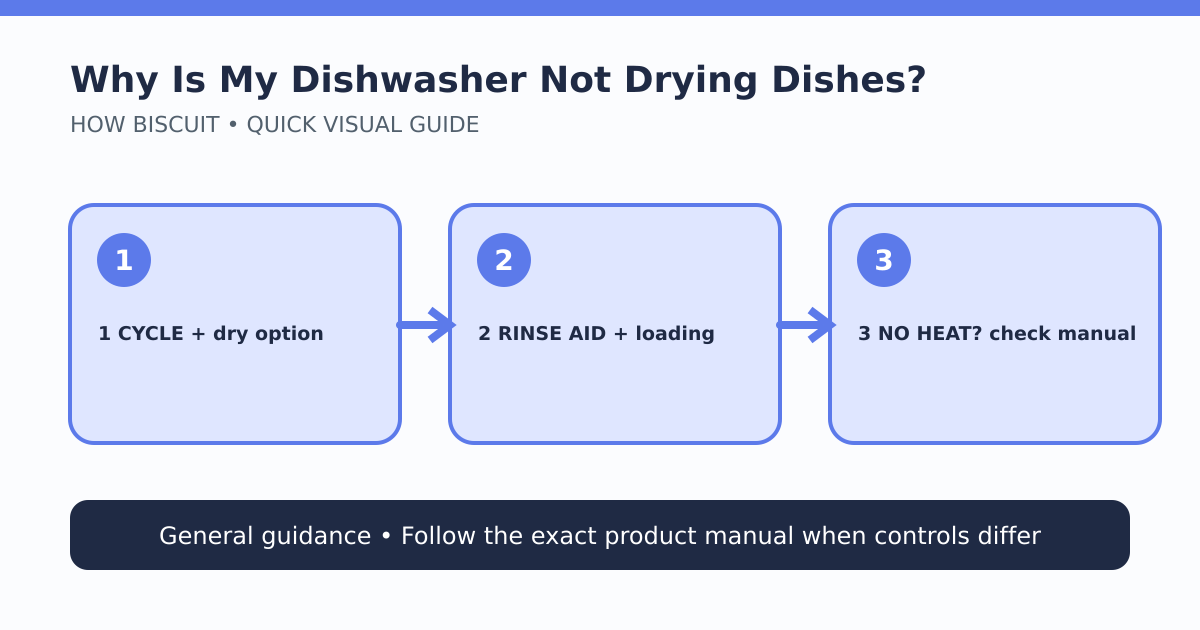
Use the lead diagram as an order of operations. Each check can be done without opening an electrical panel or guessing at a replacement part.
1. Read the cycle and option labels
Look at the completed cycle, not just the button you remember pressing. A quick, air-dry, fan-dry, or energy-oriented cycle may behave differently from a heated or extended-dry option. Names are not standardized, so consult the cycle table in your dishwasher manual. Whirlpool’s general support guidance says to confirm that a heated or dry option was selected when stronger drying is desired. [1]
Do not enable higher heat for an item that is not marked dishwasher-safe. Lightweight plastics usually belong on the rack the manual specifies, commonly away from an exposed heating element.
2. Check the rinse-aid instructions
Many dishwashers are designed around a liquid rinse aid that helps water sheet from surfaces instead of remaining as droplets. Check the dispenser level and the model’s recommended setting. Do not pour ordinary dish soap or an improvised chemical into the rinse-aid reservoir. If you change a dosage setting, change one step at a time and compare complete loads rather than continuously turning the control.
Rinse aid can improve drainage from surfaces, but it cannot correct every problem. A dispenser fault, incompatible product, or hard-water condition needs guidance specific to the machine and local water.
3. Load for drainage
Angle mugs, bowls, lids, and other concave pieces so water has a route out. Avoid nesting utensils or overlapping broad surfaces. Whirlpool notes that water pooling in the load works against drying and that plastics can remain wetter because they do not retain heat like glass or ceramics. [1]
After a cycle, compare the pattern. Water only in cup bottoms points toward loading. Moisture throughout the tub may point toward the selected option or rinse-aid setup. Completely cool dishes after a nominal heated cycle can justify the manual’s no-heat troubleshooting.
4. Let the cycle finish
Opening the door early can interrupt the designed drying period. Wait for the cycle-complete indication and follow the manual before venting the door. Some models intentionally open the door; others rely on a closed heated period. Treat generic advice to “always crack it open” as model-dependent.
ENERGY STAR advises loading a dishwasher fully and using an air-dry setting where appropriate, while recognizing that owners choose settings based on the load. [2] That is an operating choice, not a promise that every material will emerge bone-dry.
5. Know when to stop troubleshooting
If the dishwasher reports an error, trips a breaker, smells hot, leaks, never warms on a cycle that the manual says should heat, or shows damaged wiring, stop using it and follow manufacturer support. Do not remove panels or probe energized components for an article-based diagnosis. A qualified technician can distinguish a control, heater, vent, fan, sensor, or wiring issue.
Limits of this guidance
This is a desk-researched checklist, not a test of your dishwasher. Whirlpool documentation is used for common mechanisms, not to claim every brand has the same controls. The owner’s manual and product support for your exact model govern cycle names, rack positions, rinse-aid compatibility, temperature requirements, and safe service steps.
Limits and cautions
- Dishwasher drying systems and option names differ by model.
- This checklist does not diagnose electrical or component faults.
- No dishwasher, detergent, or rinse aid was evaluated for this article.
Source notes
- Not Drying - DishwasherWhirlpool Product Help
- DishwashersENERGY STAR
See something wrong or out of date? Report a correction.