
How to Fix Wi-Fi Dead Zones Without Buying Anything
Map the weak area, move the router toward the center, raise it, remove nearby obstructions, try the other frequency band, update the equipment, and repeat the same tests. Change one thing at a time.
.jpg)
A Wi-Fi dead zone is an area where the connection becomes weak, unstable, or unusable. Before buying an extender or mesh system, test whether placement, obstacles, frequency band, device behavior, or a temporary fault is creating the problem.
Quick answer: Map the weak area, move the router toward the center, raise it, remove nearby obstructions, try the other frequency band, update the equipment, and repeat the same tests. Change one thing at a time.
Step 1: Confirm that it is really a dead zone
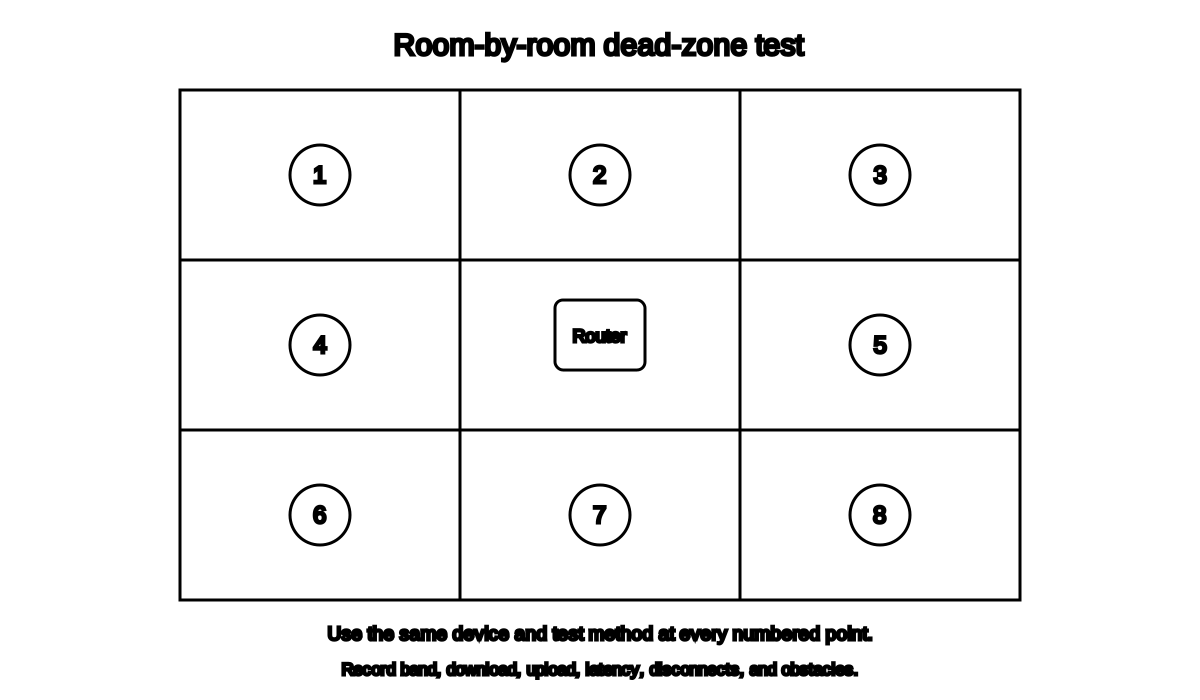
Use the same device and test method at every numbered point. Record the band, download, upload, latency, disconnects, and obstacles.
Use the same device to test:
- Beside the router
- Halfway to the problem room
- At the room entrance
- At the usual chair, desk, or television
- One nearby alternate position
Record:
- Whether the device connects
- Download and upload results
- Latency
- Band, if visible
- Disconnects or buffering
- Date and time
If the connection is slow beside the router too, this is not only a dead-zone problem. Start with Why Is My Wi-Fi So Slow?
Step 2: Test another device
If one phone fails but another works in the same exact location, the room may not be the whole problem.
The affected device may have:
- Older Wi-Fi hardware
- A bad saved profile
- Power-saving behavior
- Software trouble
- Different band support
- A damaged antenna
Do not redesign the whole network around one broken device without testing another.
Step 3: Move the router toward the coverage area
A router at one end of the home spends signal in directions nobody needs.
Move it:
- Toward the center of occupied rooms
- Away from an exterior corner
- Away from the basement edge if users are upstairs
- Closer to the stairwell in a multi-story home
- Out of the utility room when practical
Use a longer Ethernet cable between modem and router if the equipment allows it.
Do not extend fiber or provider wiring without authorization.
Step 4: Raise the router
Move it from:
- Floor to shelf
- Behind furniture to open table
- Low media cabinet to open higher position
- Beneath a desk to the desktop
Keep it stable and ventilated.
The goal is not a sacred height. It is a clearer path.
Step 5: Remove immediate obstructions
Move the router away from:
- Television
- Metal cabinet
- Refrigerator
- Microwave
- Aquarium
- Electrical panel
- Stacked electronics
- Dense bundles of cables
- Large mirror
Google identifies physical barriers and interference from other devices and networks as Wi-Fi performance factors.[1]
Step 6: Try the other band
At the dead zone:
- Try 2.4 GHz for more reach.
- Try 5 GHz when the device is closer and congestion is the issue.
- Leave both bands enabled when possible.
If the router uses one network name, check the router app or device details rather than permanently splitting the network immediately.
Step 7: Restart and update
Restart the modem and router using supported instructions.
Then check:
- Router firmware
- Device operating system
- Wi-Fi driver
- Router automatic-update setting
Temporary software problems can look like bad coverage.
Step 8: Let the router choose channels automatically
Apple recommends automatic channel selection. It also recommends 20 MHz channel width for 2.4 GHz and Auto or all supported widths for 5 GHz and 6 GHz.[2]
If the router does not support automatic channel selection, use the manufacturer’s guidance. Do not select channels based only on one app screenshot.
Step 9: Change the client position
Small changes can matter.
Try:
- Moving the laptop to the other side of the desk
- Rotating the device
- Moving it away from a metal cabinet
- Raising it off the floor
- Moving the television streaming device out from behind the screen
- Opening a room door for a test
A device may be shadowing its own antenna with the user’s body or nearby electronics.
Step 10: Use existing Ethernet for fixed devices
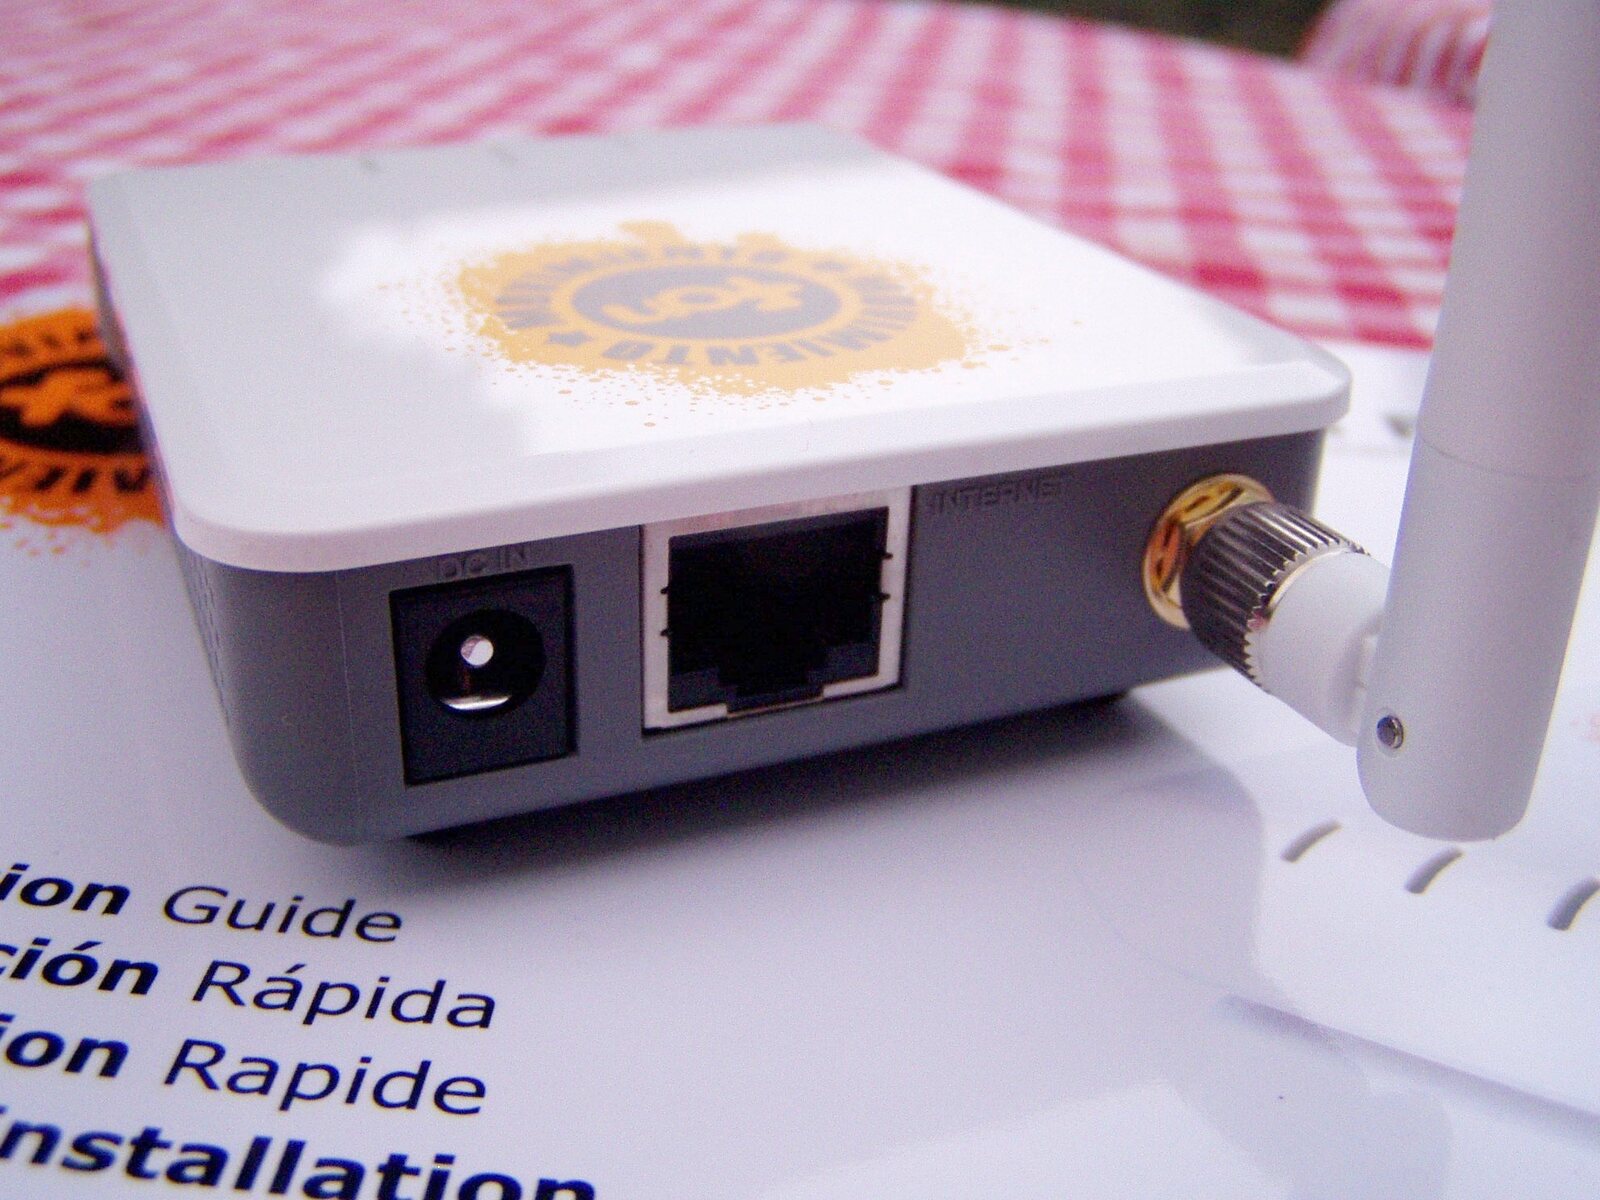

If a television, console, desktop, or office computer already has access to Ethernet:
- Use it.
- Remove that device’s traffic from Wi-Fi.
- Free wireless capacity for phones and mobile devices.
- Compare the wired connection with the dead-zone connection.
Ethernet does not fix the radio signal, but it can solve the practical problem for a fixed device and reveal whether the internet service itself is healthy.
Step 11: Test one change at a time
Do not move the router, change channels, split bands, reset devices, and update firmware in one burst. If the result changes, you will not know why.
Use the supplied checklist:
- Record baseline.
- Make one change.
- Retest the same places.
- Keep or undo the change.
- Move to the next change.
Step 12: Decide whether hardware is justified
Additional equipment may be reasonable when:
- The home is too large for one access point
- Thick masonry or concrete divides important rooms
- The router cannot move
- The far room still fails after placement changes
- Existing Ethernet supports a wired access point
- The layout requires more than one radio location
Possible later options include:
- Wired access point
- Mesh system
- Wi-Fi extender
- MoCA
- Powerline networking
- Router replacement
Those choices have different tradeoffs. Batch 2 deliberately does not pretend they are interchangeable.
What not to do
- Do not put the router inside aluminum foil.
- Do not attach homemade antennas to certified radio equipment without understanding the legal and electrical implications.
- Do not disable security.
- Do not turn on WEP for an old device.
- Do not install unknown firmware.
- Do not place indoor equipment outdoors.
- Do not buy three extenders because one product page used the word “whole-home.”
Frequently asked questions
Can I fix a dead zone by moving the router a few feet?
Sometimes. A few feet can remove a dense obstruction or improve the angle through a wall.
Does opening a door improve Wi-Fi?
It can, especially when the closed door is dense or metal-lined. Test it.
Will 2.4 GHz fix every dead zone?
No. It may improve reach, but severe obstacles or distance can still defeat it.
Can I reuse an old router?
Only if it has a supported access-point mode, current security updates, and documented setup. Two routers both providing DHCP can create new problems.
When should I buy mesh?
After placement, band, interference, updates, and existing-wired options have been tested and the coverage problem remains.
Related Wi-Fi guides
- Diagnose slow Wi-Fi first
- Test a better router location
- Compare 2.4 GHz and 5 GHz Wi-Fi
- Use the printable dead-zone checklist
Source notes
- How to improve Nest Wifi Pro, Nest Wifi or Google Wi-Fi speed and performanceGoogle Nest Help
- Recommended settings for Wi-Fi routers and access pointsApple Support
- Wi-Fi and your home layoutMicrosoft Support
- How To Secure Your Home Wi-Fi NetworkFederal Trade Commission
See something wrong or out of date? Report a correction.